Run OP-TEE from scratch
Run OP-TEE from scratch
OP-TEE的编译及运行
Reference_&_Useful_URL:
https://www.op-tee.org/
https://github.com/OP-TEE
https://optee.readthedocs.io
https://blog.csdn.net/thanksgining/article/details/108848825
https://blog.csdn.net/zhuyong006/article/details/85282624
宿主环境
- OS: Ubuntu 20.04 LTS Desktop
- Disk_Size: 50GB
Get and build the solution
Refer:https://optee.readthedocs.io/en/latest/building/gits/build.html#get-and-build-the-solution
前置条件(Prerequisites)
Refer:https://optee.readthedocs.io/en/latest/building/prerequisites.html#prerequisites
Ubuntu-based distributions
First enable installation of i386 architecture packages and update the package managers database.
1 | $ sudo dpkg --add-architecture i386 |
Install the following packages regardless of what target you will use in the end.
1 | $ sudo apt-get install android-tools-adb android-tools-fastboot autoconf \ |
Git 配置
1 | sudo apt install git -y |
安装repo
1 | curl https://mirrors.tuna.tsinghua.edu.cn/git/git-repo -o repo |
获取OP-TEE源代码
Refer:https://optee.readthedocs.io/en/latest/building/gits/build.html#get-and-build-the-solution
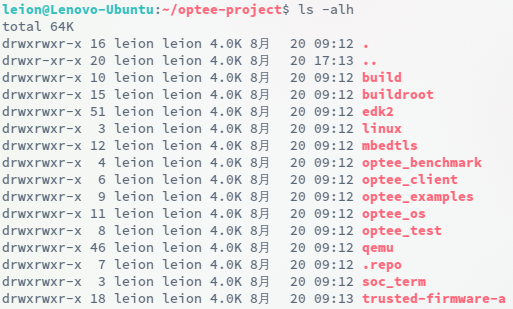
1 | mkdir -p optee-project |
由于github仓库网络问题,中间多次重新同步,还辅助以proxychains工具代理外网。
最终,同步了20+GB的数据回来。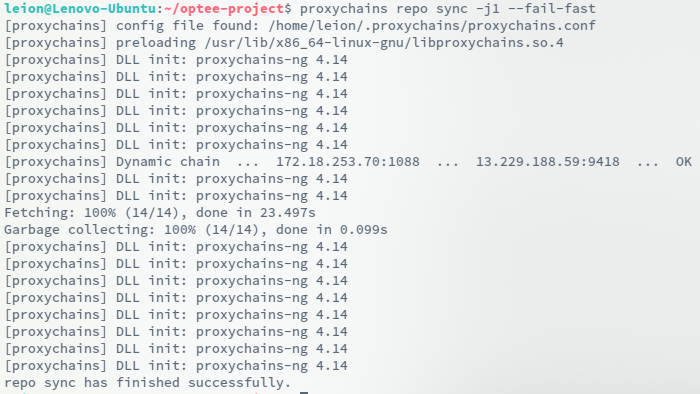

获取工具链(toolchain)
1 | cd optee-project/build |
查看 toolchain.mk 文件可知,执行 make 指令之后,系统会去下载 toolchains 的tar包,包括32位和64位的编译链接工具,下载完成后会进行解压操作。
如果执行 make 指令后,一直卡在“Downloading xxx …”那。
手动到https://developer.arm.com/tools-and-software/open-source-software/developer-tools/gnu-toolchain/gnu-a/downloads下载指定toolchain(toolchain.mk指定了AARCH32_GCC_VERSION和AARCH64_GCC_VERSION)。
这里下载的是gcc-arm-8.3-2019.03-x86_64-arm-linux-gnueabihf.tar.xz和gcc-arm-8.3-2019.03-x86_64-aarch64-linux-gnu.tar.xz
将下载的toolchain的tar包放到op-tee源代码的根目录下的toolchains目录,并进行解压:
1 | tar xf gcc-arm-8.3-2019.03-x86_64-arm-linux-gnueabihf.tar.xz -C aarch32 --strip-components=1 |
编译(Build the solution)
1 | cd optee-project/build |
编译完成:
如果编译有问题,可以通过管道将日志导入文件,方便排查(查找 ERROR 字符串):
1 | make -j `nproc` 2>&1 | tee build.log |
注:
- 如果 Make 命令运行时没有指定目标,默认会执行 Makefile 文件的第一个目标。
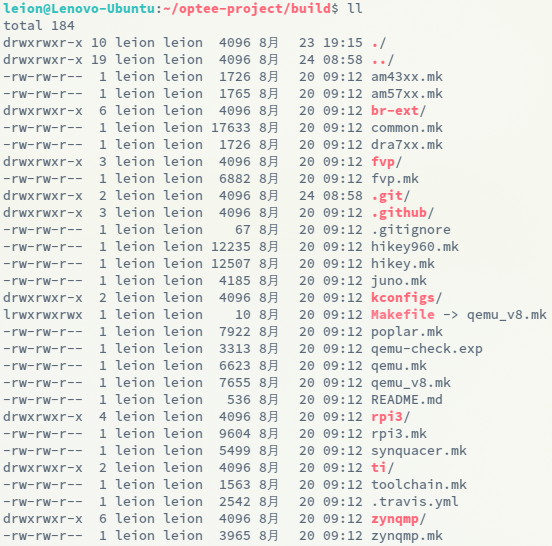
- Makefile 文件在 repo 初始化时自动生成,且指向 qemu_v8.mk,因此本例中可只需执行 make 命令:
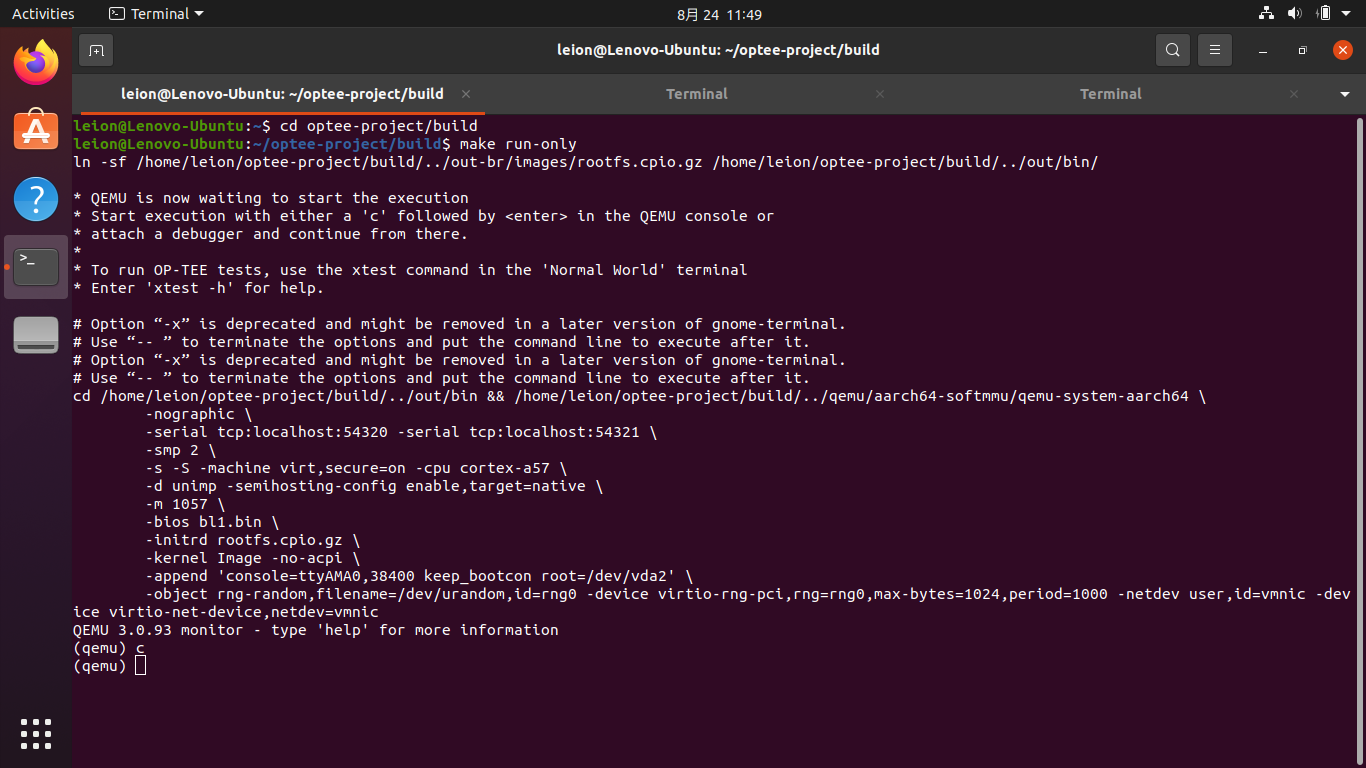
启动设备
Refer:https://optee.readthedocs.io/en/latest/building/devices/qemu.html#qemu-v8
1 | cd optee-project/build |
查看 qemu_v8.mk 文件如下代码块可知,由于运行 make run 会强制执行 make all ,如果没有更新过仓库且只需要单纯启动设备而不需要更新文件系统可以通过执行 make run-only 略过从头再编译一遍的过程。
1 | .PHONY: run |
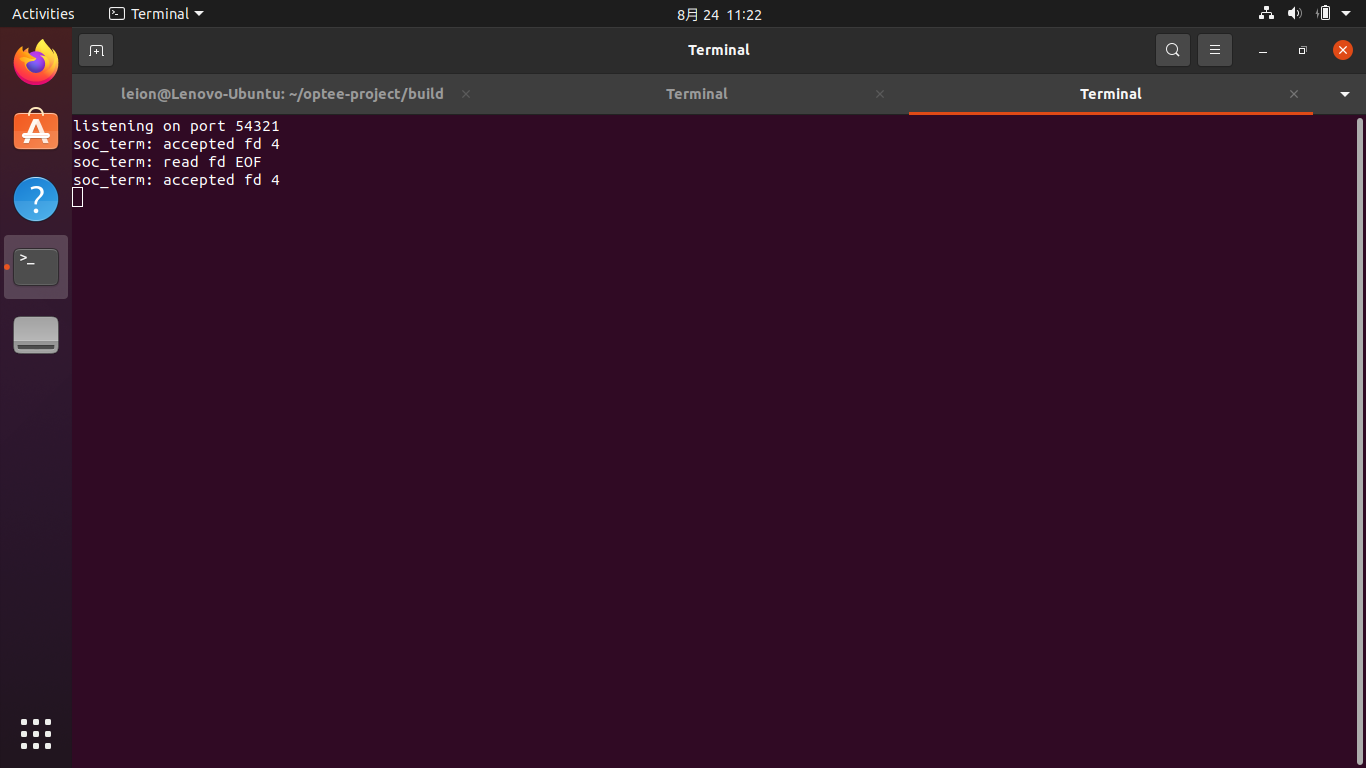
Terminal: qemu

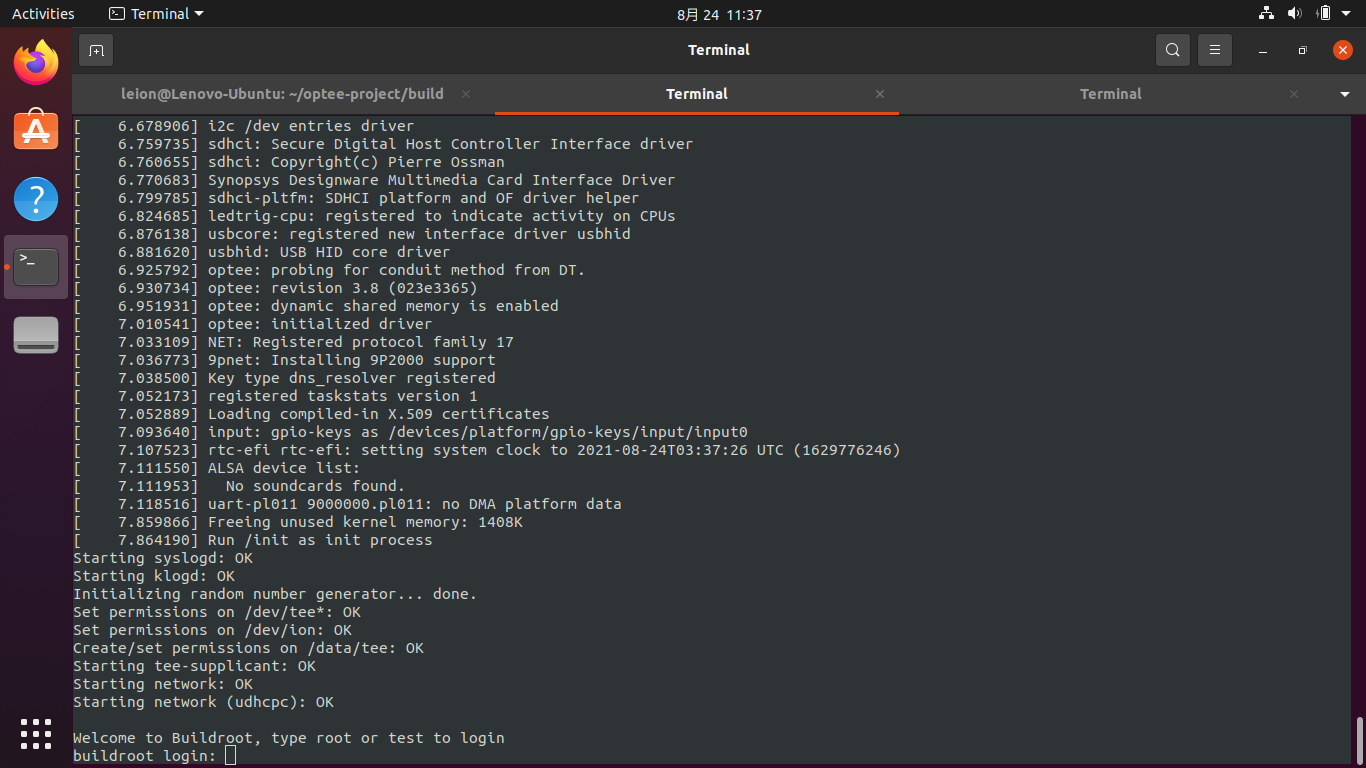
Terminal: Normal World

Terminal: Secure World
继续运行
在 qemu 的终端 Terminal 里输入 c(小写)然后按 <Enter> 键,让系统继续运行。
Terminal: qemu
Terminal: Normal World
Terminal: Secure World

执行测试(Run xtest)
https://optee.readthedocs.io/en/latest/building/gits/build.html#step-9-run-xtest
1 | xtest |
If there are no regressions / issues found, xtest should end with something like this:
1 | ... |
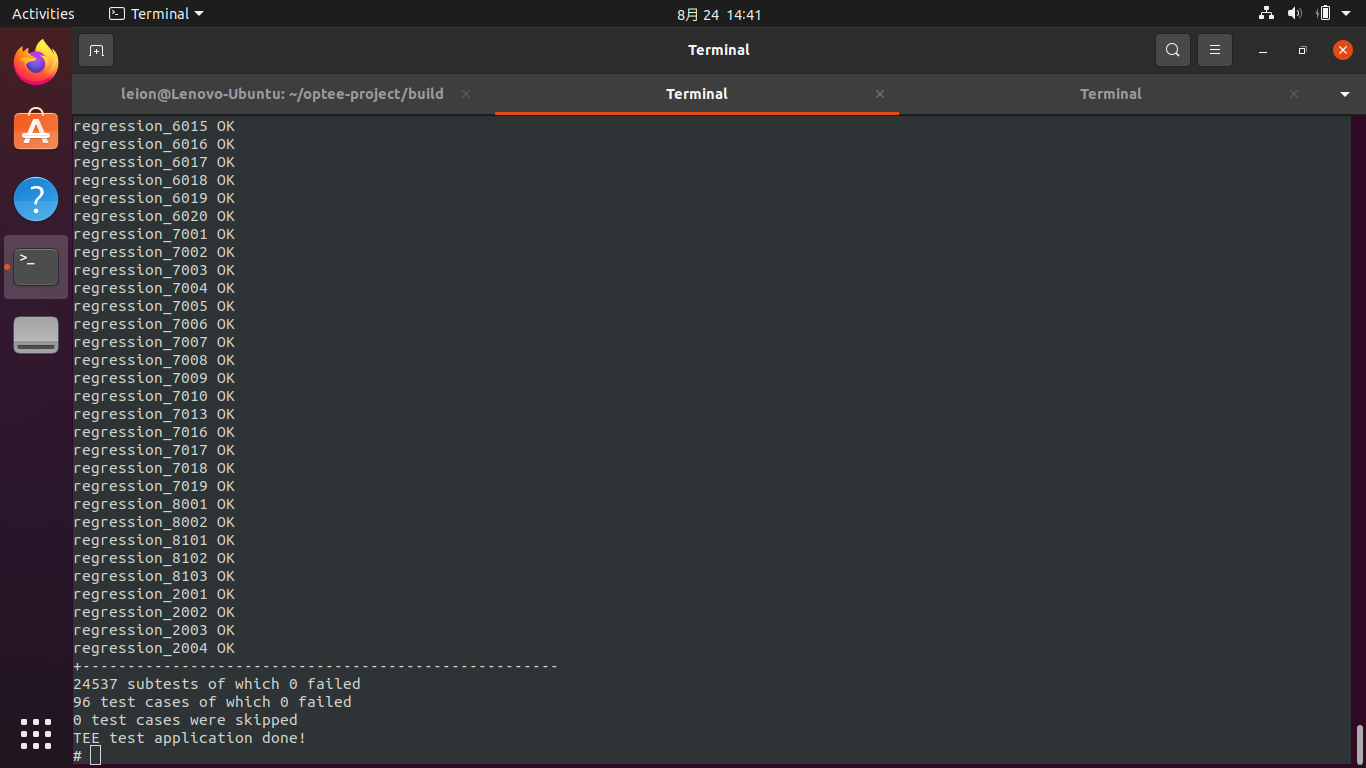
至此,完成。
TODO
Tips and Tricks - Reference existing project to speed up repo sync
Q&A:
repo sync 获取源代码时遇到网络问题
1 | error: Cannot fetch linaro-swg/linux.git from https://github.com/linaro-swg/linux.git |
解决方法:
- 使用代理
或者: - 使用从 URL 导入 - Gitee.com
问题是仓库 https://github.com/linaro-swg/linux.git 太大无法导入。 - 部分仓库已有前人在2021年1月份时同步过了,可以借用(未验证,也不清楚是否过时):https://gitee.com/fastsource/projects
make 编译过程的 buildroot 阶段由于网络问题下载 patchelf 失败
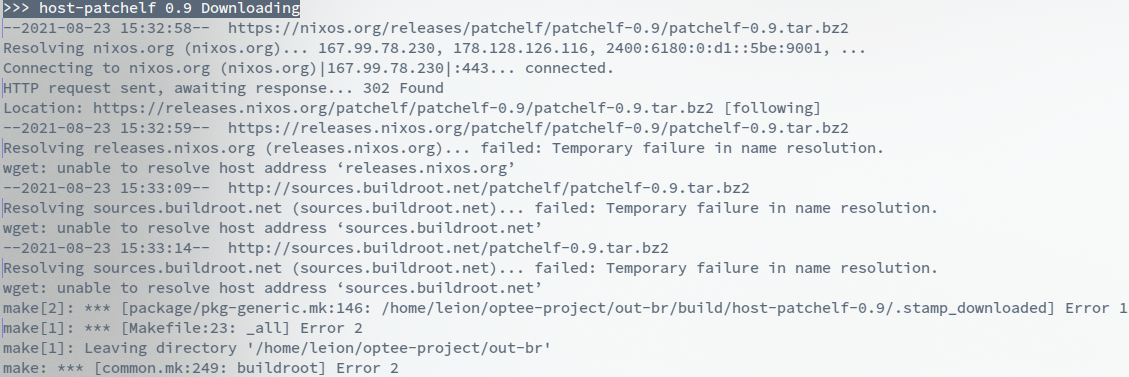
在别处下载好后放到 optee-project/buildroot/dl/patchelf 目录下。因为可能遇到多个包下载失败的问题这里可以单独执行 make buildroot 编译此部分以节省时间,等此部分编译通过后再执行一遍 make 命令。
该阶段其他包如果下载失败也可同理解决。
make run 启动两个终端报错,找不到可执行文件 soc_term
报错信息如下:
1 | Error: Failed to execute child process “optee-project/build/../soc_term/soc_term” (No such file or directory) |
原因是 make all 过程出现问题,没有编译出来 soc_term ,重新执行编译操作:
1 | cd optee-project/build |
或者手动进入soc_term文件夹进行编译:
1 | cd optee-project/build/soc_term/ |
然而,一般情况下肯定是编译到 soc_term 之前就出错了,所以才没有继续编译 soc_term,此时最好根据终端输出往上查错。